
Last updated: April 2026 | Reading time: 8 minutes
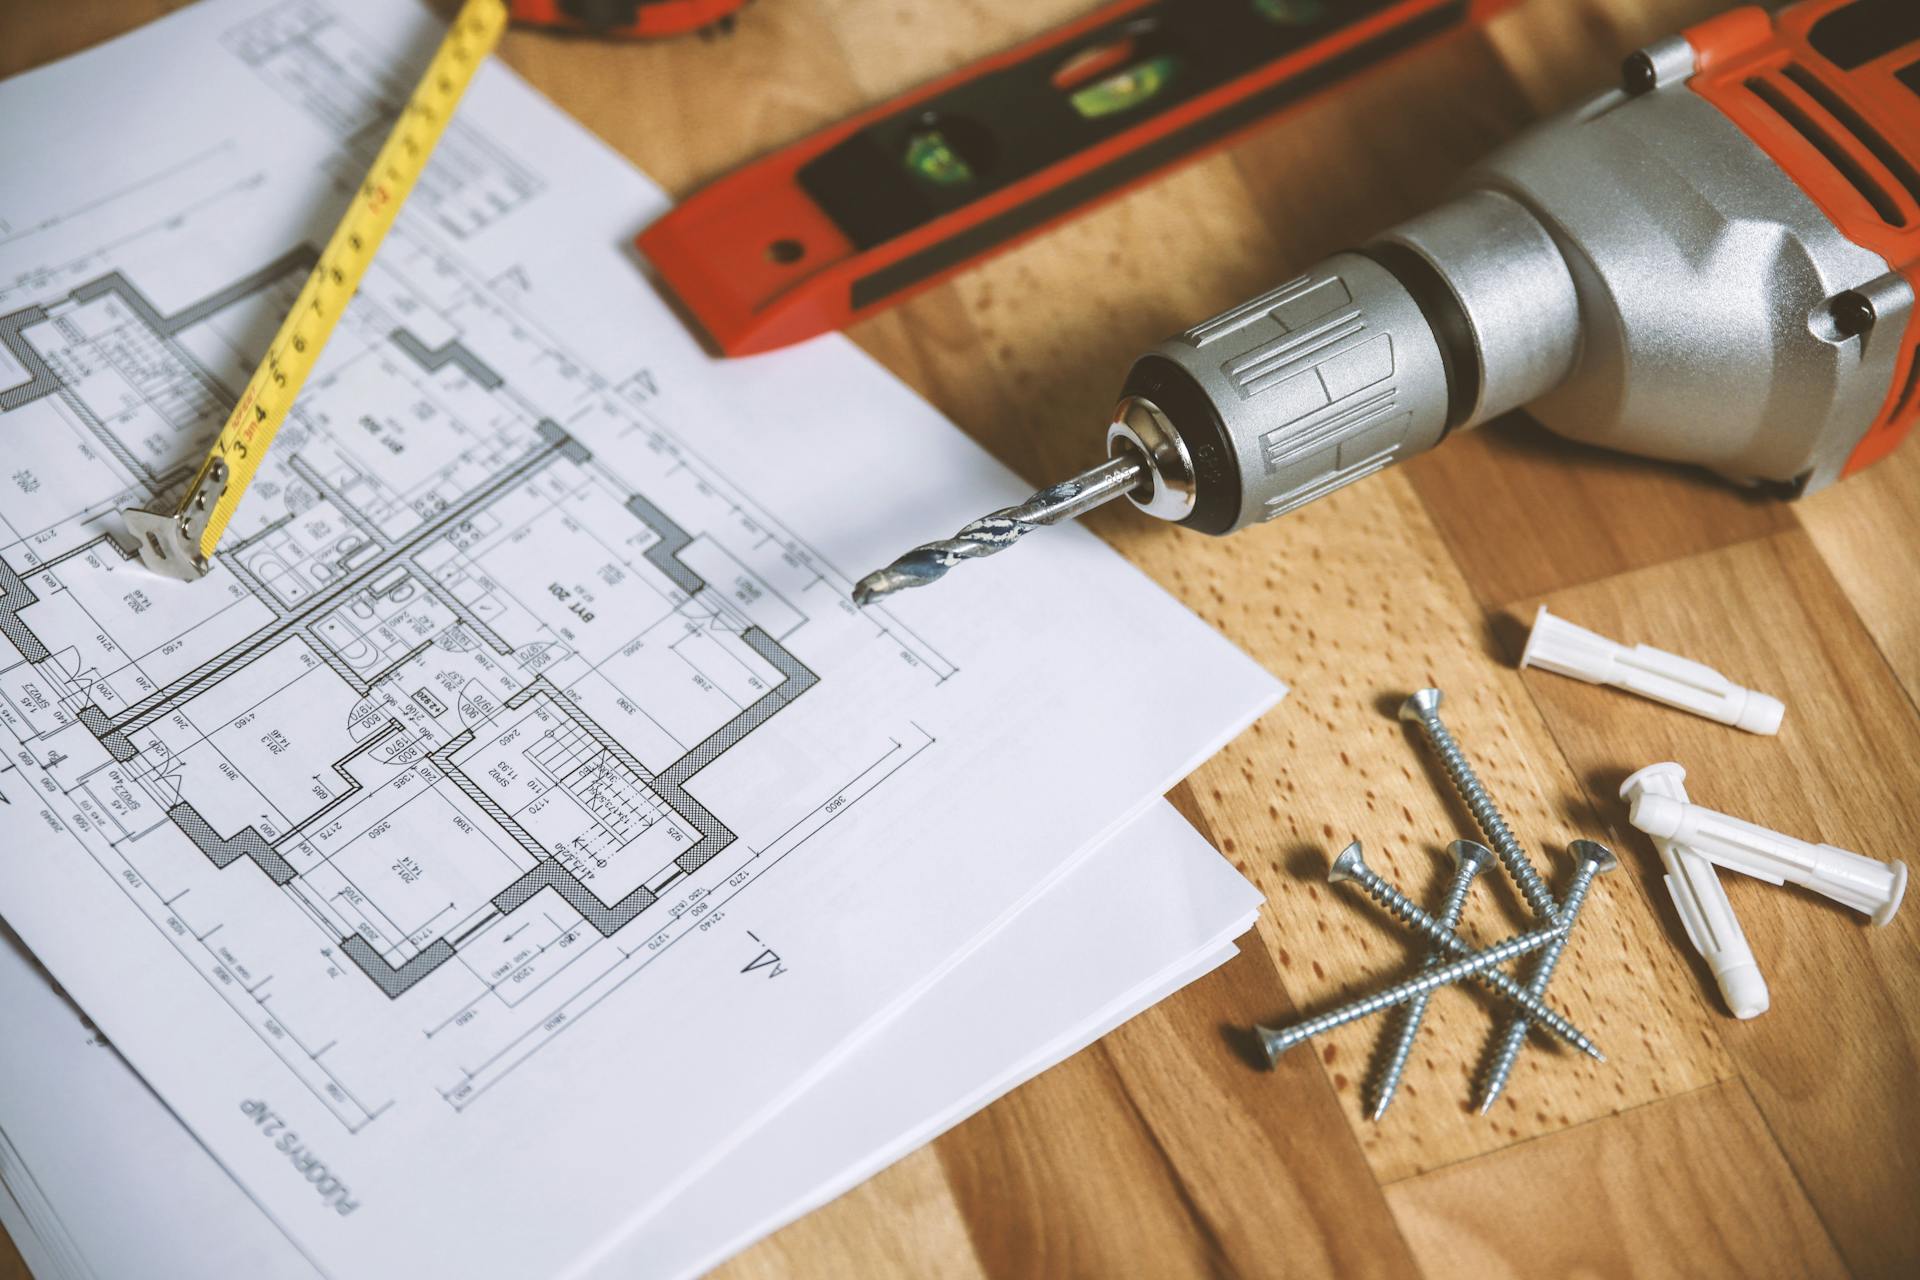
You've chosen your office pod. The order is placed. Now what? For most buyers, installation is the great unknown - a brief, slightly nervous gap between "I've spent thousands on this thing" and "wait, this actually works brilliantly". This guide walks you through every stage so the day of delivery feels like a routine logistics tick-box rather than a leap of faith.
Pre-Delivery Checklist: The Week Before
Most installation problems aren't installation problems at all - they're access and prep problems that surface on delivery day. Tackle these in advance and the pod will be ready to use within hours.
Space Requirements
Measure twice. Pods are advertised by their external footprint, but you also need clearance for the door swing and a comfortable buffer around the unit:
- •Footprint clearance: Add 100mm (10cm) to each side of the published external dimensions. Pods aren't always perfectly square and panel joints need wiggle room.
- •Door swing: Most pod doors swing outwards by 700-900mm. Confirm the swing direction with your supplier - some manufacturers offer left or right hinge options at no extra cost if you specify before manufacturing.
- •Ceiling height: Standard pods are 2.20-2.40m tall. Measure the lowest beam, light fitting or sprinkler head, not the average ceiling.
- •Floor type: Pods sit happily on carpet, vinyl, polished concrete, or wood. Just confirm the floor is level within 10mm across the footprint - a sloping floor causes door alignment issues.
Access Route Survey
This is where most installation delays happen. Walk the route from the truck to the final position:
- •Doorway widths: The largest single panel on a flat-pack pod is typically 2.0-2.4m tall and 1.0-1.2m wide. Pre-assembled pods need much wider access.
- •Lift dimensions: If the pod is going to a higher floor, check internal lift dimensions and weight capacity. Most flat-pack panels fit standard lifts; pre-assembled pods often won't.
- •Corner radii: A 1m × 1.5m panel needs a corridor turn of at least 1.6m to navigate without scraping walls.
- •Stair access: If lifts are out, panels can usually be carried up stairs by two people. Heavy panels (acoustic pods can weigh 80-100kg per side) may need three.
If anything is borderline, send your supplier photos and dimensions in advance. Most will offer a free site survey for orders over a certain value.
Electrical Preparation
Pods are simple electrical loads but the socket has to be in the right place:
- •Socket location: Most pods plug into a standard 13A UK domestic socket within 2-3m of the pod base. Confirm exact cable entry position with your supplier - some pods have cables exiting the base, others through a top corner.
- •Dedicated circuit (optional but recommended): For multiple pods or heavy use, ask your electrician about putting them on a dedicated 16A circuit. This avoids tripping breakers when AC + lights + ventilation + occupant device all run at once.
- •Data: If you want a wired ethernet connection inside the pod, run a Cat6 cable to the same location as the power socket before delivery day.
Delivery Day: Hour by Hour
A typical pod delivery and installation runs as follows:
0:00 - Truck arrives. Two- or three-person installation crew unloads panels, hardware, and the assembly toolkit into your reception or staging area.
0:15 - Inventory check. The crew opens packaging and confirms all panels, glazing units, ventilation modules, and door hardware are present and undamaged. Inspect at this stage - any transit damage is much easier to address before assembly begins.
0:30 - Move to final position. Panels are carried to the install location and laid out in assembly order.
0:45-2:30 - Assembly. Wall panels are joined, the roof is fitted, glazing is dropped in, the door is hung, and the ventilation unit is connected. Most flat-pack pods have tool-free or 4mm hex-key construction with no glue or sealant required.
2:30-3:00 - Electrical and testing. The crew plugs in the pod, tests all internal lighting, fans, USB and power sockets, and door operation.
3:00-3:30 - Handover. Walkthrough of features, controls, ventilation modes, and any maintenance requirements. You sign off and the crew departs.
Total: 2-4 hours typical for a single phone or work pod. Larger meeting pods (4-6 person) take 4-6 hours.
Flat-Pack vs Pre-Assembled
Most modern office pods are flat-pack delivery for good reason:
- •✅ Fits through standard doorways and lifts
- •✅ Lower delivery cost
- •✅ Easier to relocate later (moves with the business)
- •✅ Replacement panels easy to source
Pre-assembled pods still exist for specific use cases - typically smaller phone booths under 1m × 1m where assembly time would exceed transport effort. Confirm with your supplier which method applies to your chosen model.
Electrical Connection: The Detail Most Buyers Miss
Plugging the pod into a standard socket gives you light, ventilation, USB charging, and one or two internal power sockets. That's enough for 95% of users. But check three things:
- •Total wattage draw. A typical phone booth pulls 150-300W at peak (lights + fan + occupant laptop). Standard sockets handle this comfortably.
- •PIR motion sensors. Many pods auto-power-off after 5-10 minutes unoccupied. Confirm your model's behaviour - if you want lights and ventilation to stay on for visitors entering, ask about override modes.
- •Audio-conferencing pods. Higher-end pods include integrated screens, mics, and conference cameras drawing 400-600W. These are still 13A-socket compatible but the draw is closer to its limit.
Testing and Handover
Before the install crew leaves, run through this short checklist with them:
- • Door opens and closes smoothly, latches properly
- • All internal lights work (main + reading task light if fitted)
- • Ventilation fan runs and is audibly quiet
- • All power sockets and USB outputs deliver power
- • Acoustic seal is tight (no daylight visible at door edges)
- • Glazing is clean and free of scratches
- • No rattling panels or loose fittings
Take photos of any minor blemishes for warranty record. Reputable suppliers will arrange free remediation visits within the warranty period - typically 2-5 years depending on manufacturer.
Common Installation Challenges
Floor isn't level. Pods include levelling feet that adjust ±10mm. For greater slopes, the crew uses shims under the base panels.
Panels arrived damaged. Refuse delivery of obviously damaged panels and contact the supplier immediately. Most have stock for next-day replacement.
Pod doesn't fit through the door. Should have been caught in the access survey - if it wasn't, larger panels can sometimes be disassembled into sub-components for entry, then reassembled inside. Ask your supplier.
Wi-Fi signal is weak inside. Acoustic insulation can reduce wireless signal by 5-10dB. If the pod will host video calls, run a wired ethernet cable or place a Wi-Fi access point within 3m of the pod.
DIY vs Professional Installation
Professional installation is included with most UK pod orders - or available for £150-£400 depending on pod size and complexity. We strongly recommend it for:
- •Acoustic pods (alignment is critical for the seal)
- •Meeting pods 4-person or larger
- •Multiple pods on the same delivery
- •Any pod going above ground floor
DIY installation is realistic for a single small phone pod with two reasonably handy people, a 4mm hex key, and 3-4 hours. Manufacturers generally provide step-by-step assembly videos and a printed manual. Just expect the first hour to feel slower than the last.
Ready to Install?
If you're at the planning stage and want help confirming your access route, electrical setup, or pod sizing for your space, get in touch - our team can run a quick remote site survey from photos and floor-plan dimensions.
Already chosen your model? Browse our office phone pods, meeting pods, and work pods - all delivered with full UK installation available.
Need Help Choosing the Right Office Pod?
Our team has helped hundreds of UK businesses find the perfect workspace solutions. Get free, impartial advice tailored to your needs.
Related Articles
Employee Retention is Built on Autonomy
When companies talk about retention, the conversation usually turns to salary or perks. The strongest predictor is something far less visible: autonomy. Part 5 of our Focus-First Workplace series.
Read more
The "Zoom Room" Standard: Why Lighting and Acoustics Matter
Today's modern workplace isn't just a physical environment — it's a broadcast environment. Part 4 of our Focus-First Workplace series on why lighting, acoustics and purpose-built video spaces are now business-critical.
Read more